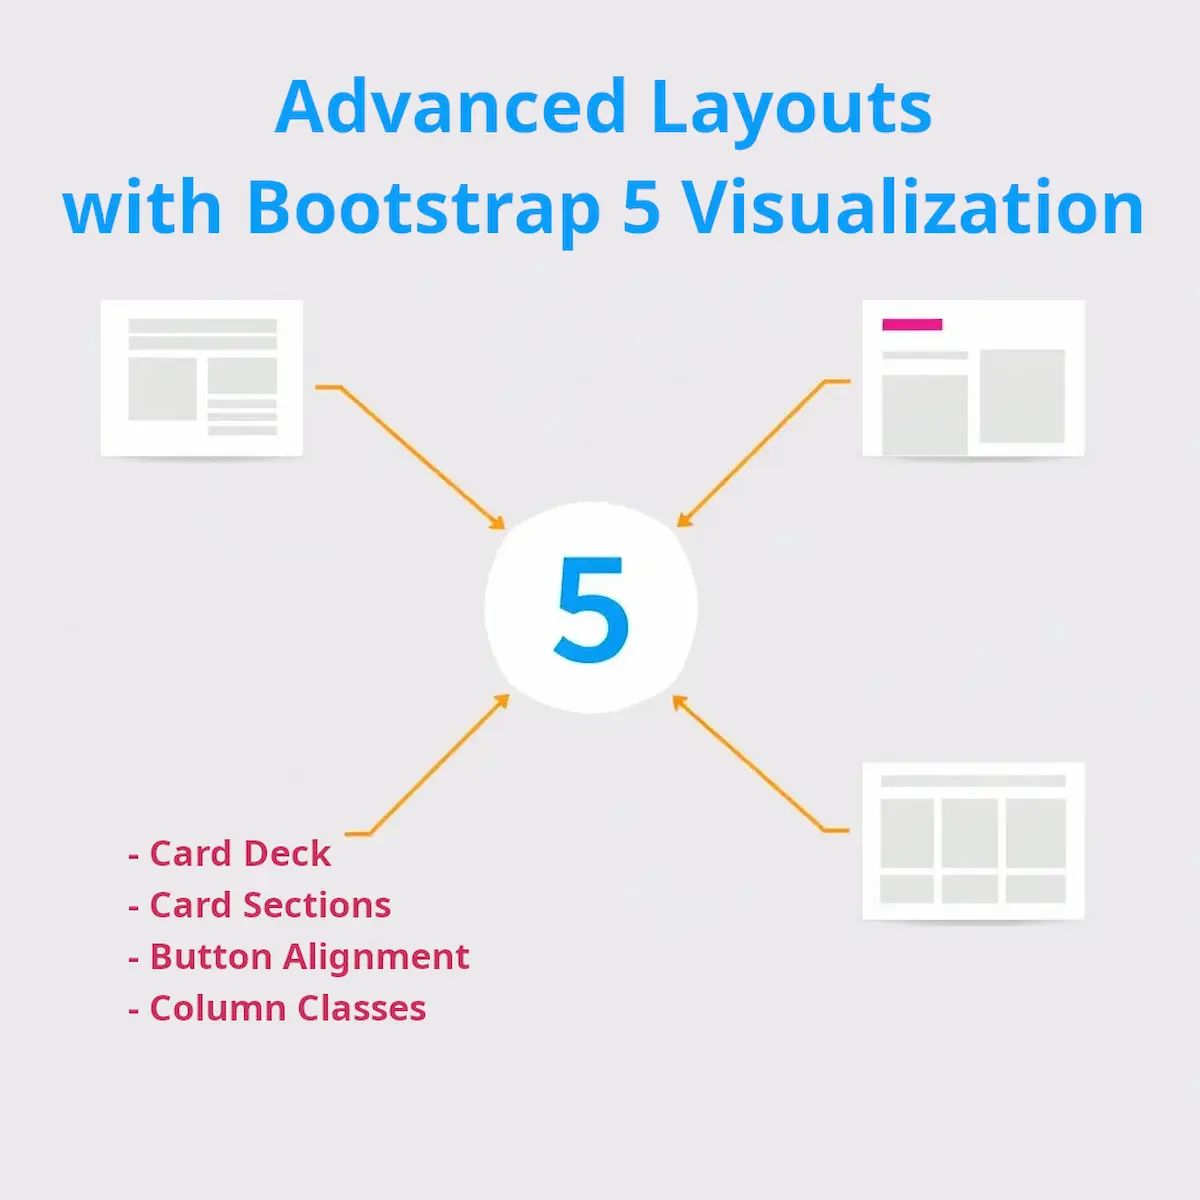
A Beginner's Guide to Web Development: Advanced Layouts with Bootstrap 5 - Part 4
- Ctrl Man
- Web Development , CSS Frameworks , Advanced Techniques
- 20 May, 2024
Getting Started with Bootstrap 5: A Beginner’s Guide
Welcome to the exciting world of web development! This beginner-friendly guide will introduce you to Bootstrap 5, the latest version of the world’s most popular front-end framework. We’ll cover some fundamental concepts and provide code examples to help you get started.
Understanding Bootstrap 5 Classes
Bootstrap 5 comes with a variety of classes designed to make web development easier and more efficient. Let’s explore some of these classes with practical examples.
The Card Component
Cards are one of the most versatile components in Bootstrap. They can display content with different layouts and are easy to customize.
The card-deck Class
The card-deck class allows you to create a set of cards with equal width and height, neatly organized side by side.
<div class="card-deck">
  <div class="card">
    <!-- Card content goes here -->
  </div>
  <div class="card">
    <!-- Card content goes here -->
  </div>
</div>
The card-header and card-body Classes
These classes help you structure the content within a card, providing a clear separation between the header and the body.
<div class="card">
  <div class="card-header">
    <!-- Header content goes here -->
  </div>
  <div class="card-body">
    <!-- Body content goes here -->
  </div>
</div>
Note: Ensure that the card-header and card-body classes are used within the card class to function correctly.
Creating a Pricing Section
A common use case for cards in Bootstrap is to create a pricing section. Here’s how you can align your “Sign Up” buttons horizontally using Bootstrap’s flexbox utilities.
<div class="card-deck">
  <div class="card">
    <div class="card-header">
      <h3>Rookie</h3>
    </div>
    <div class="card-body">
      <!-- Pricing details go here -->
    </div>
    <div class="card-footer d-flex justify-content-center">
      <button type="button" class="btn btn-primary">Sign Up</button>
    </div>
  </div>
  <!-- Repeat for other pricing tiers -->
</div>
In the example above, the card-footer class is used to contain the “Sign Up” button, and the d-flex and justify-content-center classes are applied to center the button horizontally.
Bootstrap 5: Understanding Column Classes and Alignment
In addition to the concepts covered above, it’s important to understand how Bootstrap 5 uses column classes for responsive design and alignment.
Column Classes for Different Devices
In Bootstrap 5, the col class specifies the column layout for grid elements, and different breakpoint prefixes are used to define column behavior at various screen sizes. The standard breakpoint prefixes used in Bootstrap are as follows:
col(Extra small): For screens less than 576px wide (e.g., smartphones).col-sm(Small): For screens equal to or greater than 576px wide (e.g., small tablets).col-md(Medium): For screens equal to or greater than 768px wide (e.g., larger tablets or iPads).col-lg(Large): For screens equal to or greater than 992px wide (e.g., laptops and desktops).col-xl(Extra large): For screens equal to or greater than 1200px wide (e.g., large desktops).
When you use the col class without any breakpoint prefix, it applies to extra small screens (less than 576px). For larger screens, you would typically use the appropriate breakpoint prefix to control the column layout at different screen sizes.
For example, if you want a column layout to apply to screens equal to or greater than 768px (iPad size and larger), you would use the col-md-* classes. Here’s an example:
<div class="row">
  <div class="col-md-6">
    <!-- Content for the left column on iPad and larger screens -->
  </div>
  <div class="col-md-6">
    <!-- Content for the right column on iPad and larger screens -->
  </div>
</div>
In this example, the col-md-6 class is used, indicating that each column should take up 6 columns out of the 12 available columns on screens equal to or greater than 768px (medium size). This layout will be applied on iPad and larger devices.
Aligning Buttons Horizontally
When creating a pricing section or similar layout, you might want to align your buttons horizontally. Here’s how you can do it using Bootstrap’s flexbox utilities:
<section id="pricing">
  <h2>A Plan for Every Developer's Needs</h2>
  <p>Simple and affordable price plans for you and your developer.</p>
  <div class="row">
    <div class="pricing-column col-lg-4 col-md-6">
      <div class="card">
        <div class="card-header">
          <h3>Rookie</h3>
        </div>
        <div class="card-body">
          <h2>Free</h2>
          <p>5 Translations Per Day</p>
          <p>1000 Words Per Day</p>
          <p>Unlimited App Usage</p>
          <div class="button-container">
            <button type="button" class="btn btn-lg btn-outline-dark">Sign Up For Free</button>
          </div>
        </div>
      </div>
    </div>
    <!-- Add the other pricing columns with buttons in a similar fashion -->
  </div>
</section>
In this updated code, the w-100 class has been removed from the buttons, allowing them to maintain their default width. The buttons are now wrapped in a new <div> element with the class button-container. We will use this container to apply flexbox properties and horizontally align the buttons.
Next, you can add custom CSS to create the horizontal alignment using flexbox:
/* Custom CSS */
.button-container {
  display: flex;
  justify-content: center;
  margin-top: 10px; /* Adjust the margin as needed */
}
The custom CSS code applies the display: flex property to the button-container class and uses justify-content: center to horizontally center the buttons within the container.
Grouping Icons Tightly
To group the icons tightly and reduce the spacing between them, you can adjust the default padding applied by Bootstrap and add custom CSS to the contact-box class. Here’s how you can achieve it:
- Add a custom CSS class to style the icons:
<!-- Add this custom CSS class -->
<style>
  .contact-box .fa {
    font-size: 30px; /* Adjust the icon size as needed */
    padding: 5px; /* Adjust the padding between icons as needed */
  }
</style>
- Modify the HTML code to apply the custom CSS class:
<footer id="footer">
  <div class="container2-fluid">

    <div class="row">
      <div class="col-lg-4 col-12 contact-box text-center">
        <a href="https://www.twitter.com/salomonomario" class="fa-brands fa-square-twitter"></a>
      </div>
      <div class="col-lg-4 col-12 contact-box text-center">
        <a href="https://gengo.com/hire/profile/148782/" class="fa-solid fa-globe"></a>
      </div>
      <div class="col-lg-4 col-12 contact-box text-center">
        <a href="mailto:mariusz.lozicki@gmail.com" class="fa-solid fa-envelope"></a>
      </div>
    </div>
  </div>
  <p>2023 © Copyright TransDevLab</p>
</footer>
By adding the custom CSS class .contact-box .fa, we target the icons within the contact-box class. We set the font-size property to adjust the icon size and the padding property to control the spacing between the icons. You can modify the font-size and padding values to achieve the desired tight grouping and spacing between the icons.
With this custom CSS, the icons should be grouped more closely together within the contact-box containers, making them appear more tightly spaced. Feel free to adjust the values in the custom CSS to fit your design preferences.
Conclusion
Bootstrap 5 is a powerful tool that can help you build responsive and attractive websites quickly. By understanding and utilizing its classes, you can create complex layouts with minimal effort. Remember, the best way to learn web development is by practicing, so start experimenting with Bootstrap 5 today!
Frequently Asked Questions (FAQ)
What is Bootstrap?
Bootstrap is a free and open-source CSS framework directed at responsive, mobile-first front-end web development. It contains CSS- and JavaScript-based design templates for typography, forms, buttons, navigation, and other interface components.
Why use Bootstrap with Visual Studio Code?
Using Bootstrap with Visual Studio Code can significantly speed up the development process by providing pre-designed components and utilities. It also ensures consistency in design and supports responsive layouts out of the box.
How do I add Bootstrap to my Visual Studio Code project?
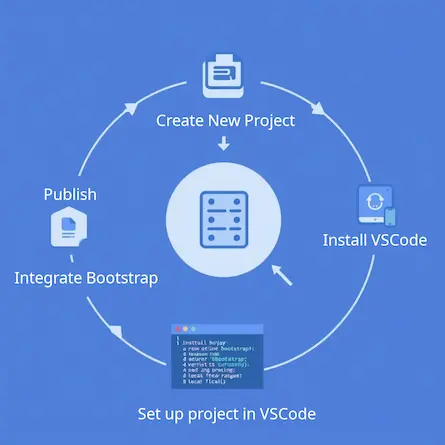
You can add Bootstrap to your project by linking to the Bootstrap CDN in your HTML file’s <head> section or by downloading the Bootstrap files and including them in your project directory.
Can I customize Bootstrap themes?
Yes, Bootstrap themes can be customized by overriding the default styles with your own CSS or by using a tool like Bootstrap’s Theme Customizer.
Is Bootstrap compatible with all browsers?
Bootstrap is compatible with most modern browsers. However, it’s always a good idea to check the official Bootstrap documentation for the most up-to-date browser support information.
How can I ensure my Bootstrap site is accessible?
To ensure your Bootstrap site is accessible, use semantic HTML, provide proper alt text for images, ensure keyboard navigability, and follow other accessibility best practices.
What are some common issues when integrating Bootstrap?
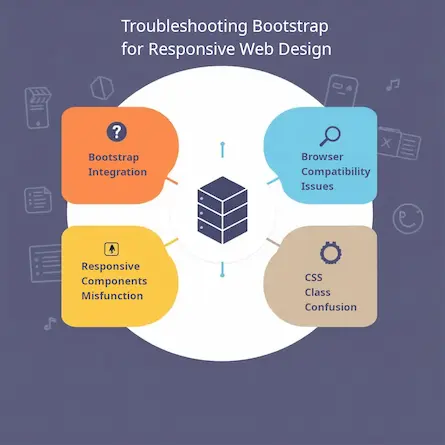
Common issues include conflicts with other CSS styles, incorrect file paths, and version mismatches. Ensure you’re using the correct version of Bootstrap and that all files are correctly linked in your HTML.
Where can I find more resources on Bootstrap?
The official Bootstrap website is the best place to find documentation, examples, and tutorials on how to use Bootstrap effectively.
